Get Started
This document is intended to help users set up the software environment for the development of audio applications using hardware based on the ESP32 by Espressif. Through a simple example, we would like to illustrate how to use ESP-ADF (Espressif Audio Development Framework).
To make the start with ESP-ADF quicker, Espressif designed development boards intended to build audio applications with the ESP32. Click the links below to get started.
 |
 |
 |
|---|---|---|
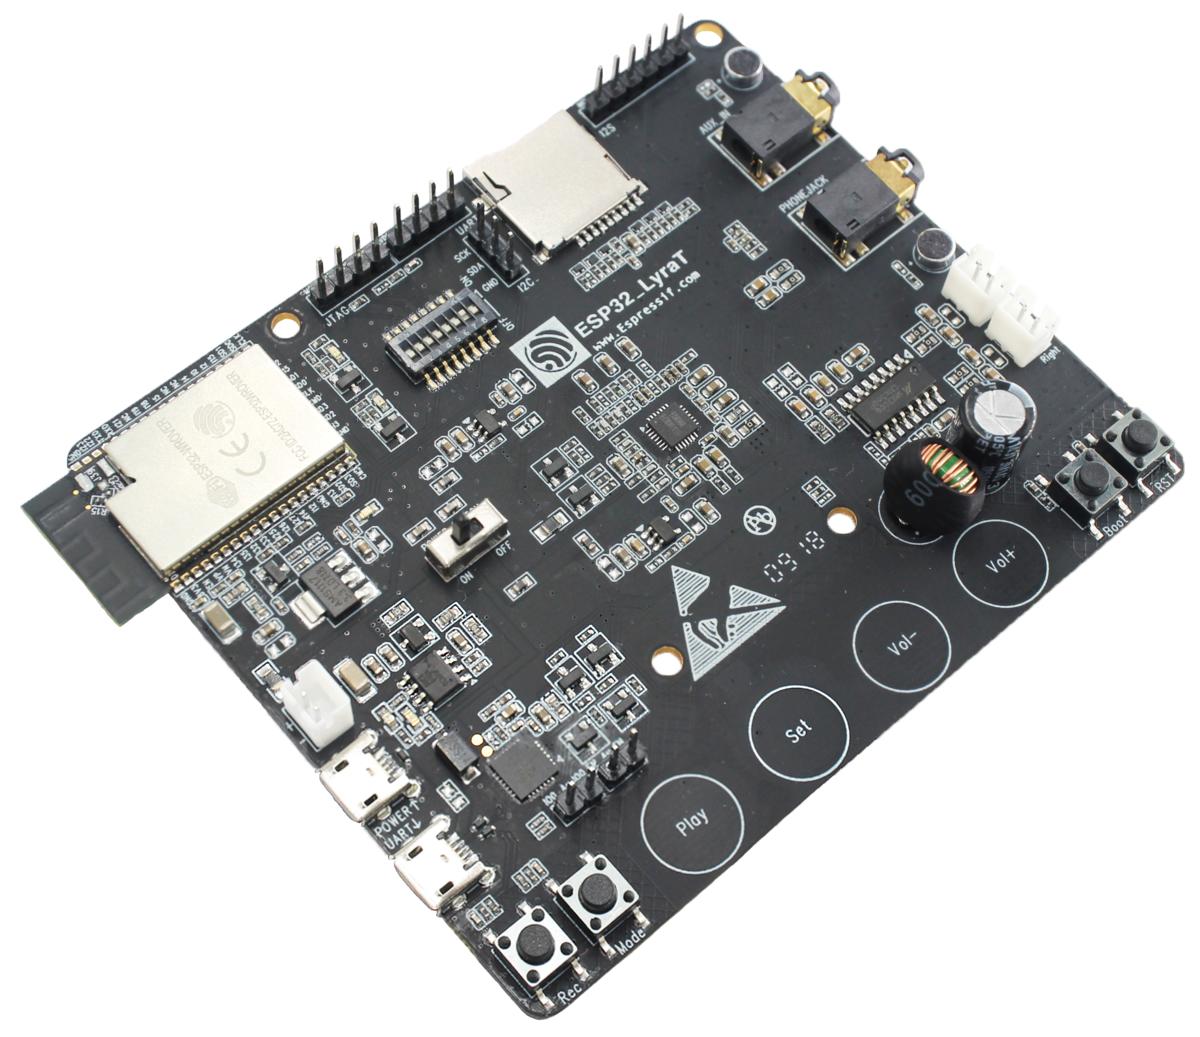
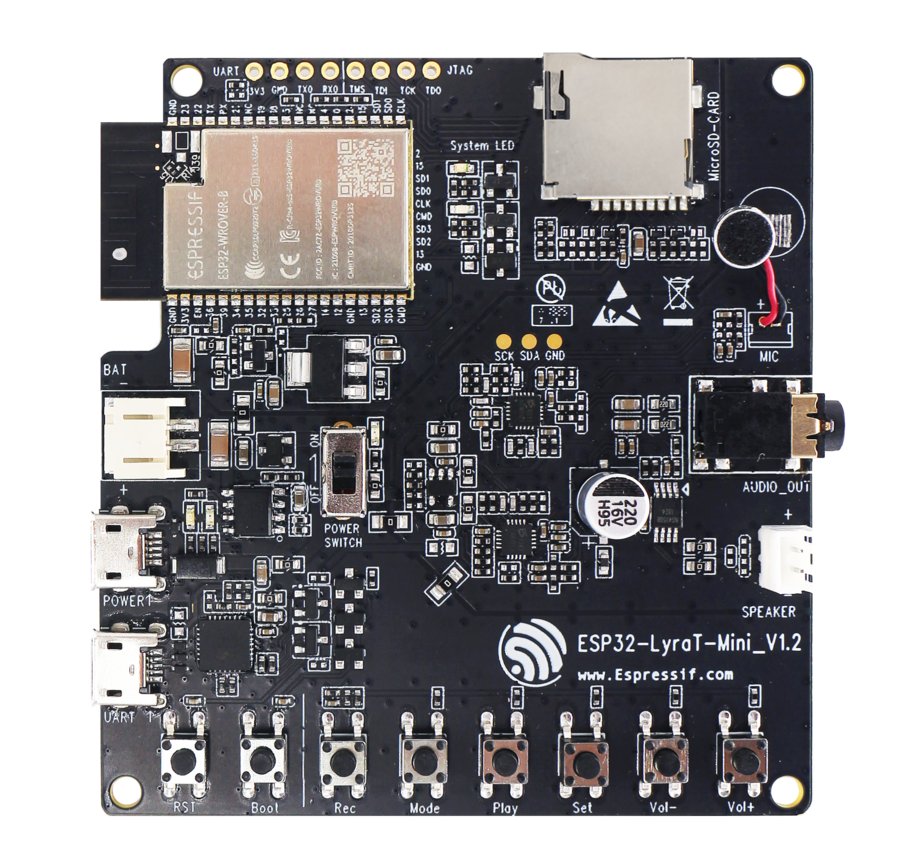
| Getting Started with ESP32-LyraT | Getting Started with ESP32-LyraTD-MSC | Getting Started with ESP32-LyraT-Mini |
If you do not have one of the above boards, you can still use ESP-ADF for the ESP32 based audio applications. This is providing your board has a compatible audio codec or DSP chip, or you develop a driver to support communication with your specific chip.
About ESP-ADF
The ESP-ADF is available as a set of components to extend the functionality already delivered by the ESP-IDF (Espressif IoT Development Framework).
To use ESP-ADF you need set up the ESP-IDF first, and this is described in the next section.
Note
ESP-ADF is developed using v3.3.1 version of ESP-IDF. If your have already set up another version, please switch to the v3.3.1, or you may not be able to compile ESP-ADF applications.
Set up ESP-IDF
Configure your PC according to ESP32 Documentation. Windows, Linux and Mac OS operating systems are supported.
You have a choice to compile and upload code to the ESP32 by command line with make or using Eclipse IDE.
Note
We are using ~/esp directory to install the toolchain, ESP-IDF, ESP-ADF and sample applications. You can use a different directory, but need to adjust respective commands.
To make the installation easier and less prone to errors, use the ~/esp default directory for the installation. Once you get through ESP-IDF setup and move to the ESP-ADF, you will notice that installation of the ESP-ADF follows the similar process. This should make it even easier to get up and running with the ESP-ADF.
If this is your first exposure to the ESP32 and ESP-IDF, then it is recommended to get familiar with hello_world and blink examples first. Once you can build, upload and run these two examples, then you are ready to proceed to the next section.
Get ESP-ADF
Having the ESP-IDF to compile, build and upload application for ESP32, you can now move to installing audio specific API / libraries. They are provided in ESP-ADF repository. To get it, open terminal, navigate to the directory to put the ESP-ADF, and clone it using git clone command:
cd ~/esp
git clone --recursive https://github.com/espressif/esp-adf.git
ESP-ADF will be downloaded into ~/esp/esp-adf.
Note
Do not miss the --recursive option. If you have already cloned ESP-ADF without this option, run another command to get all the submodules:
cd ~/esp/esp-adf
git submodule update --init
Setup Path to ESP-ADF
The toolchain programs access ESP-ADF using ADF_PATH environment variable. This variable should be set up on your PC, otherwise the projects will not build. The process to set it up is analogous to setting up the IDF_PATH variable, please see instructions in ESP-IDF documentation under Add IDF_PATH to User Profile.
Start a Project
After initial preparation you are ready to build the first audio application for the ESP32. The process has already been described in ESP-IDF documentation. Now we would like to discuss again the key steps and show how the toolchain is able to access the ESP-ADF components by using the ADF_PATH variable.
Note
ESP-ADF is based on a specific release of the ESP-IDF. You will see this release cloned with ESP-ADF as a subdirectory, or more specifically as a submodule e.g. esp-idf @ ca3faa61 visible on the GitHub. Just follow this instruction and the build scripts will automatically reach ESP-IDF from the submodule.
To demonstrate how to build an application, we will use get-started/play_mp3 project from examples directory in the ADF.
Copy get-started/play_mp3 to ~/esp directory:
cd ~/esp
cp -r $ADF_PATH/examples/get-started/play_mp3 .
You can also find a range of example projects under the examples directory in the ESP-ADF repository. These example project directories can be copied in the same way as presented above, to begin your own projects.
Connect and Configure
Connect the audio ESP32 board to the PC, check under what serial port the board is visible and verify, if serial communication works as described in ESP-IDF Documentation.
At the terminal window, go to the directory of play_mp3 application and configure it with menuconfig by selecting the serial port, upload speed and the audio board version:
cd ~/esp/play_mp3
make menuconfig
Save the configuration.
Build, Flash and Monitor
Now you can build, upload and check the application. Run:
make flash monitor -j5
This will build the application including ESP-IDF / ESP-ADF components, upload (flash) binaries to your ESP32 board and start the monitor.
Upload
To upload the binaries, the board should be put into upload mode. To do so, hold down Boot button, momentarily press Reset button and release the Boot button. The upload mode may be initiated anytime during the application build, but no later than “Connecting” message is being displayed:
...

esptool.py v2.1
Connecting........_____....
Without the upload mode enabled, after showing several ....._____, the connection will eventually time out.
Once build and upload is complete, you should see the following:
...

Leaving...
Hard resetting...
MONITOR
--- idf_monitor on /dev/ttyUSB0 115200 ---
--- Quit: Ctrl+] | Menu: Ctrl+T | Help: Ctrl+T followed by Ctrl+H ---
Monitor
At this point press the Reset button to start the application. Following several lines of start up log, the play_mp3 application specific messages should be displayed:
...

I (303) PLAY_MP3_FLASH: [ 1 ] Start audio codec chip
I (323) PLAY_MP3_FLASH: [ 2 ] Create audio pipeline, add all elements to pipeline, and subscribe pipeline event
I (323) PLAY_MP3_FLASH: [2.1] Create mp3 decoder to decode mp3 file and set custom read callback
I (333) PLAY_MP3_FLASH: [2.2] Create i2s stream to write data to codec chip
I (343) PLAY_MP3_FLASH: [2.3] Register all elements to audio pipeline
I (353) PLAY_MP3_FLASH: [2.4] Link it together [mp3_music_read_cb]-->mp3_decoder-->i2s_stream-->[codec_chip]
I (363) PLAY_MP3_FLASH: [ 3 ] Setup event listener
I (363) PLAY_MP3_FLASH: [3.1] Listening event from all elements of pipeline
I (373) PLAY_MP3_FLASH: [ 4 ] Start audio_pipeline
W (373) AUDIO_ELEMENT: [mp3] RESUME:Element has not running,state:3,task_run:1
W (393) AUDIO_ELEMENT: [i2s] RESUME:Element has not running,state:3,task_run:1
I (403) PLAY_MP3_FLASH: [ * ] Receive music info from mp3 decoder, sample_rates=44100, bits=16, ch=2
W (433) AUDIO_ELEMENT: [i2s] RESUME:Element has not running,state:3,task_run:1
I (7183) PLAY_MP3_FLASH: [ 5 ] Stop audio_pipeline
W (7183) AUDIO_PIPELINE: There are no listener registered
If there are no issues, besides the above log, you should hear a sound played for about 7 seconds by the speakers or headphones connected to your audio board. Reset the board to hear it again if required.
Now you are ready to try some other examples, or go right to developing your own applications. Check how the examples are made aware of location of the ESP-ADF. Open the get-started/play_mp3/Makefile and you should see
PROJECT_NAME := play_mp3
include $(ADF_PATH)/project.mk
The second line contains $ADF_PATH to point the toolchain to the ESP-ADF. You need similar Makefile in your own applications developed with the ESP-ADF.
Update ESP-ADF
After some time of using ESP-ADF, you may want to update it to take advantage of new features or bug fixes. The simplest way to do so is by deleting existing esp-adf folder and cloning it again, which is same as when doing initial installation described in sections Get ESP-ADF.
Another solution is to update only what has changed. This method is useful if you have a slow connection to the GitHub. To do the update run the following commands:
cd ~/esp/esp-adf
git pull
git submodule update --init --recursive
The git pull command is fetching and merging changes from ESP-ADF repository on GitHub. Then git submodule update --init --recursive is updating existing submodules or getting a fresh copy of new ones. On GitHub the submodules are represented as links to other repositories and require this additional command to get them onto your PC.